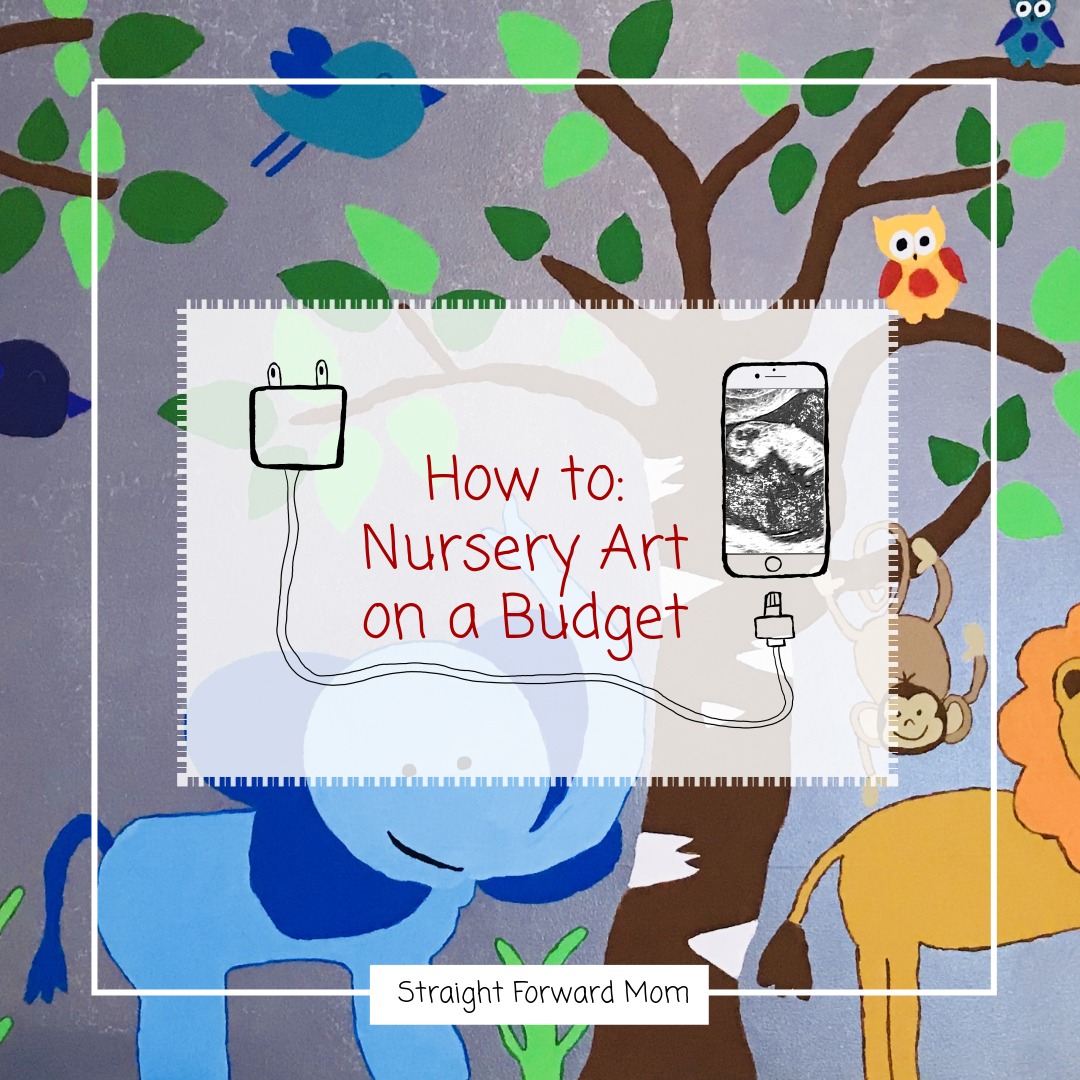
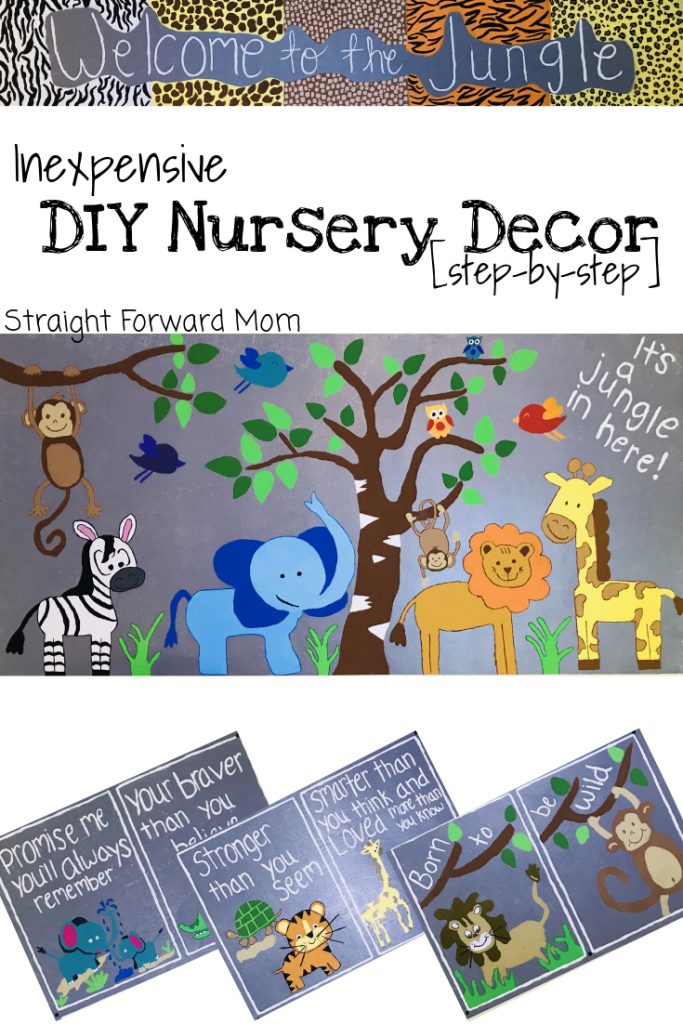
Next level Nursery Decor Idea [Inexpensive & Renter Friendly]

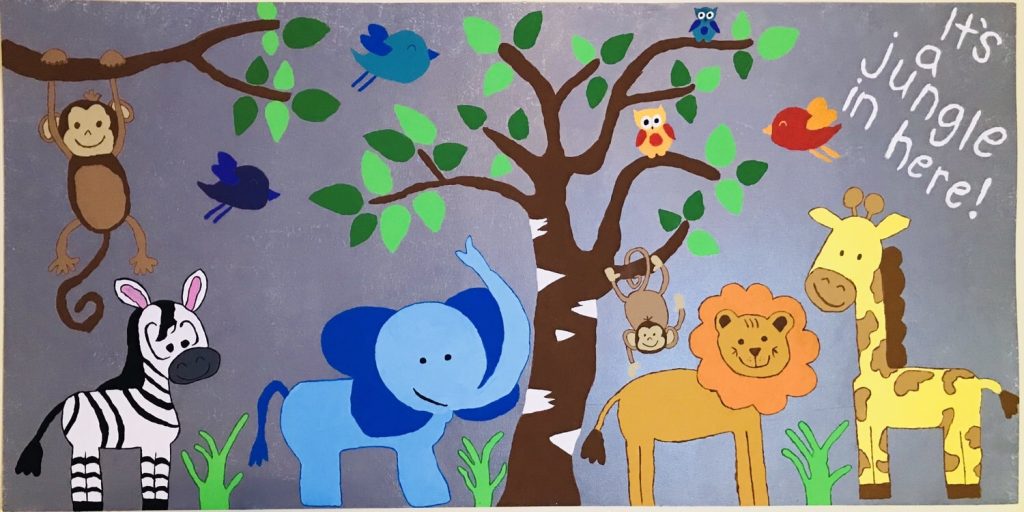
When I got pregnant with my son, I knew I wanted to do a jungle themed nursery decor, because I have such a love for animals, and I hope that my son will too. So I came up, with this unique nursery painting idea!
I love to do artwork, and so I decided, I wanted to paint his nursery.
We are renters, so I didn’t feel comfortable painting the walls, and if we moved, I wanted to be able to take my decor with us. That’s when this next level, nursery painting idea that was inexpensive and renter friendly, hit me! 💡
I absolutely love Amazon Prime for all of my shopping, it’s so easy and free delivery is the best! Especially with the amount of shopping I do! So many great perks!
>Instantly watch thousands of movies and TV episodes
> Borrow Kindle books
>Get unlimited FREE two-day shipping (no minimum order size)
Start Your FREE Trial!
My Nursery Decor Idea!
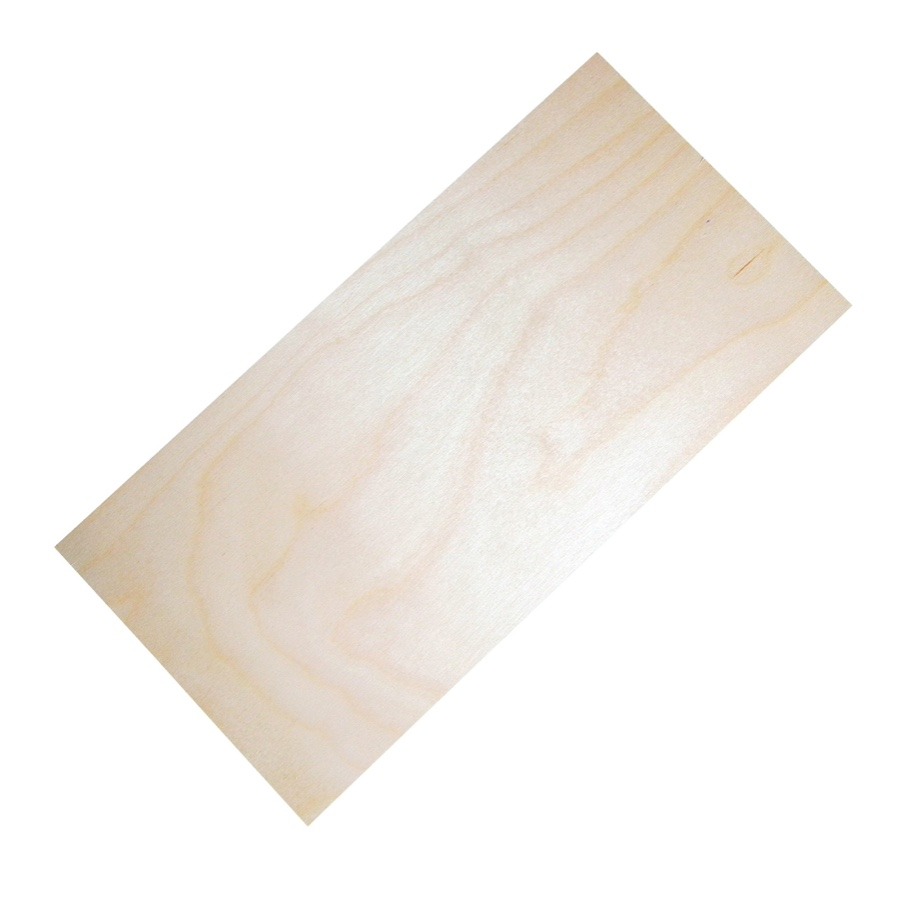
I came up with an idea of buying a large piece of ply wood that wasn’t too thick and heavy. I was able to go to our local Home Depot and select one I liked. It was great because they cut it to the sizes, I wanted and everything.
*Note: sizes are listed under photos! I didn’t want to spend a fortune on artwork for my nursery. Plus, this was more special, since I was able to paint it myself. The plywood was inexpensive and only cost me about $8!
I was able to get one large piece of plywood, and cut that into 3 pieces. It was helpful to have some kind of idea, of what I wanted the design to be first. This allowed me to make sure I got everything I needed at a great inexpensive cost!
I looked up a few images, and ideas that I liked, and decided on the color gray as my background. So I painted all 3 pieces with a white primer that I mixed with my acrylic black paint to get the perfect shade of gray, that I was looking for. I used a paint roller and pan for this part, since it was a large area to cover, and I wanted to be as efficient as possible.

Supplies
- Plywood
- Paint Roller and Pan
- Pencil & Eraser
- Acrylic Paint
- Paint Brushes
- Hammer & Nails
It’s so important to have a list of baby supplies! Start your baby registry ASAP!
Simple. Convenient. All in One Place.
Let the Nursery Decor Transformation Begin!
Once that was nice and dry, I used tiny nails to nail the board to the wall. Note, this wasn’t the permanent location it would end up, just a good spot, so I could easily access it for painting.
I could easily reach the entire canvas this way. Then, I used a pencil to trace out all my art first! I was changing my mind on the layout so the pencil worked great! I accompanied my pencil with a large eraser to do this, because if I messed up I could easily go back and erase.
When I was satisfied with my layout, then I was ready to grab my paint and paint brushes and get to work! I do a lot of crafting, so I was able to use the acrylic paint I already had! This took a series of days to work on. I would paint a little each day. I was so satisfied with the finish product!
Finishing Touches!
Once I was done, I was easily able to take the nails out and place my finished product, where I wanted. This was the best part! I was able to hang up my inexpensive artwork anywhere I wanted. Plus, I could keep it as long as I wanted because, it wasn’t painted into the wall.
I was able to choose a thin piece of plywood. This was key in making it look really natural on the wall. It wasn’t super bulky or sticking out super far from the wall either!
The paintings made for a perfect touch to my jungle animal themed nursery at little cost to me! I would call that a mom win!
I had my husband, screw each painting to the wall, so it was nice and secure! Now I had these amazing keepsakes, that I could take with me anywhere! The whole project probably would cost you about $20-$40 depending on the type of wood, paint, and brushes you use. I hope you like my next level, nursery painting idea that is inexpensive and renter friendly!
I love teaching my kids, but I also love to teach myself new things too! As a busy mom it’s hard to find the time. I love to use Audible to listen to books while I rock multitasking! It’s truly a life changer.
Give it a TRY! Great for gifts & kids learning too!
Step-by-step process
- Begin with what theme or design you want to create.
- Go to your local craft/hardware store, and acquire medium. I used plywood.
- Once, you have your medium size and design idea, then apply a background coat of paint. I used a roller brush to do this. It was a great time saving, non-streaking technique. Let dry!
- Secure wood to wall for easy access. Optional-draw your design with pencil first.
- Then grab your paint and paint brushes, and go to town creating your masterpiece!
- Hang up in desired location and appreciate your inexpensive, DIY, ‘fine art’!


One Comment
Pingback: